My mini series of You Tube Tutorials celebrating this lovely set are continuing.
In case you've missed any here are numbers 2
and 3:
The Best Birds set will only be available as a bundle until the end of May 2017 so get it at a discounted price will you can. Click on the image below to be taken to my store.
Another Masculine Monday tutorial today uses our Envelope Punch Board to make some bow ties. Stampin' Up! does have a bow punch but I thought you might like to see how to make some with the EPB.
I've used some of our versatile Designer Series Stacks in Night of Navy to make the bows.
SUPPLIES USED
Whisper White Cardstock Night of Navy Cardstock Night of Navy Designer Series Paper Night of Navy Marker Pen Wetlands Stamp Set
Measurements:
Whisper White 4 1/8" x 5 3/4"
Night of Navy - 5 6/8" x 3 7/8"
Whisper White - 5 3/8" x 3 5/8"
Designer Series - Paper = 3 x 3" x 1" = punch at 1 1/2"
This week's Masculine Monday uses the Colour Block Technique - a great way to use up your precious scraps of cardstock or DSP. I've used some blue tones here for my cards and the stamp set Totally Trees. The colours of cardstock I've used are:
Bermuda Bay Mint Macaron Tempting Turquoise Soft Sky Island Indigo
The base card is Mint Macaron. Ribbon - Mint Macaron Sheer Linen Inks: Rich Razzleberry Island Indigo Copper Embossing Powder
Another in my Masculine Monday series of You Tube tutorials this week saw me using the Wetlands stamp set. I do love this set - and it goes so well with the Serene Scenery Designer Series Paper. I showed an example of a card and then showed how you could do the same card but just changing the papers and the stamps.
Here's the same basic sketch for a card - just changed up a bit by the different use of papers and main image.
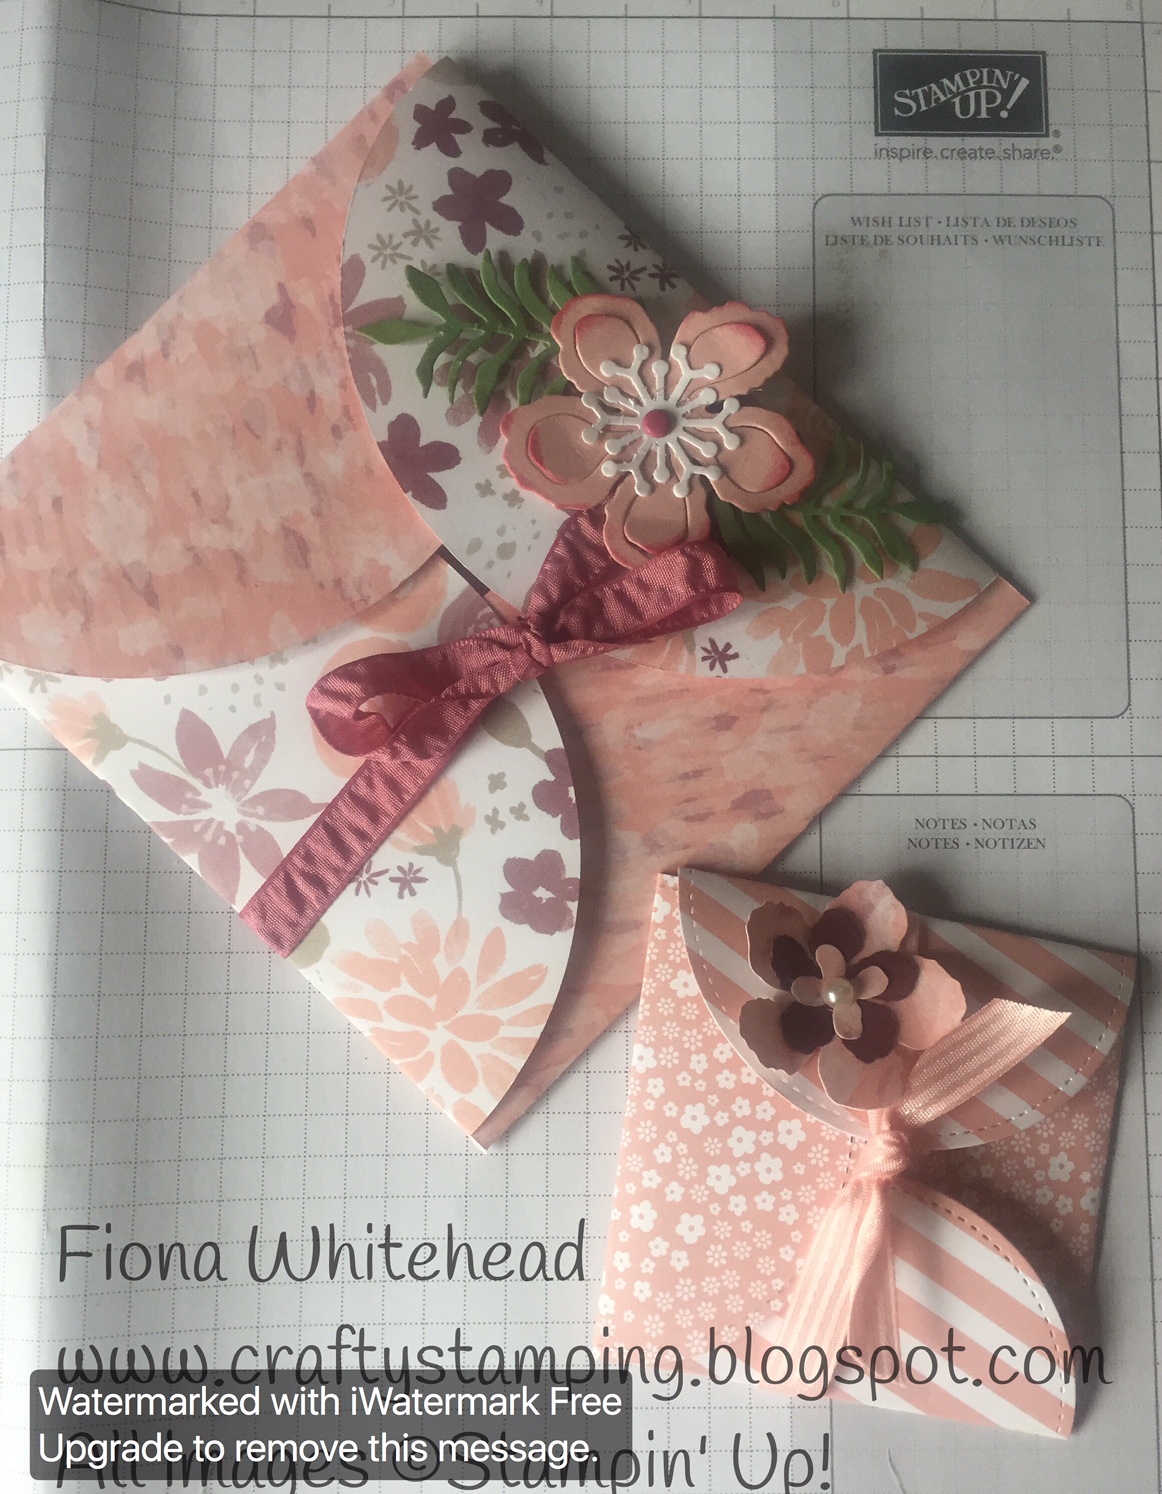
Here's a quick little gift bag you can make with any of our gorgeous Designer Series Papers. It would be great for gift cards or vouchers. I have shown two sizes here but you can make them any size you lik. The larger size was made by drawing a circle around a CD - the smaller one was made with the largest of our Stitched Framelits.
I used some of our Designer Series Stack papers for the smaller ones and Blooms and Bliss DSP for the larger.
There isn't actually any stamping with this little project. The flowers were cut out using Botanical Builder Framelits.
I've been playing with using the Avant-Garden stamp set on some boxes - originally Sam Hammond's boxes from way back. I've given them a bit of a revamp with some up-dated products.
A normal piece of A4 cardstock gives you enough for a box and an extra card.
SPECIAL OFFER FOR MY YOU TUBE SUBSCRIBERS
Check out my YouTube tutorial as to how I made these. All of my You Tube subscribers are put into a draw each month and one winner will be chosen at random to receive the products I have made for that month!
I've done a purely stamping only video for this week's tutorial. Not a die or framelit in sight. I'd read the comment where someone had mentioned there was less stamping being done and more Big Shot cutting out so I thought I would go back to basics.
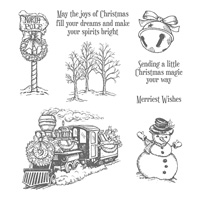
I've used the Christmas Magic set and, in particular the Train again. I think its a great one for colouring and as mentioned before reminds me of Polar Express.
The Cherry Cobbler card base was actually 5 3/4" x 4 1/4" (15cm x 10.5 xm) The DSP was cut at 5 1/2" x 3 6/8" (14cm x 9.5 cm)
The Whisper White was 5 1/4" x 3 1/2" (13.2 cm x 9 cm)
You'll find all the supplies I used below. All products can of course be purchased from my store.
If you are in the Hampshire area - why not come along to one of my many classes and get creative!